Back in August 2017, Architectural Visualiser James Dowling released his Atmos. III project. In this article, he takes us through his workflow, covering details such as lighting, depth of field, and more!
Read more about the making of Atmos. III
Introduction
I have used V-Ray for most of my career and when I moved into Architectural Visualisation three years ago, it was definitely the dominant render engine. However, about half a year ago I started to hear a lot about Corona Renderer, so in my spare time I decided to try it and see how it compared to V-Ray. This project was something I created for these test purposes only and was not commercial in the slightest.
Lighting
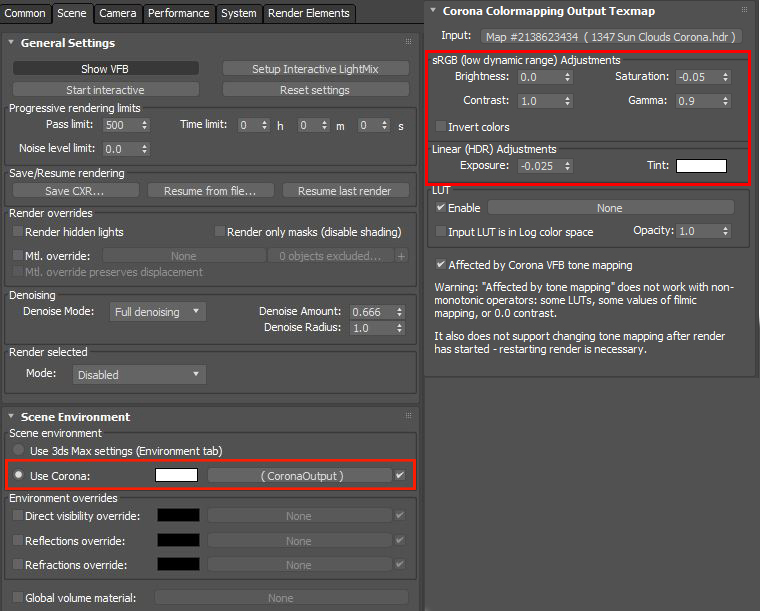
To light this scene I started with an HDRI map. I used the free Peter Guthrie HDR that comes with Corona, specifically “1347 Sun Clouds” that can be found in the Resources -> Materials section on the Corona website. This was added into the scene environment tab in a Corona Output map which allows you to make exposure/colour adjustments.
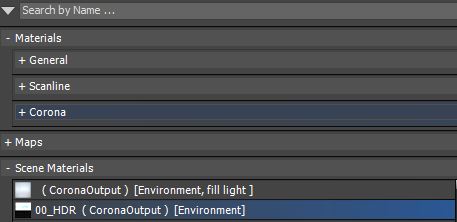
On a side note – if you accidentally press the “Reset settings” button in the Scene tab (which I did!) it will get rid of the Corona Output map as well, so to make life easier I add a zero at the beginning of the name so that it will turn up at the top of the scene material list and save me from scrolling through every material I made trying to find it!
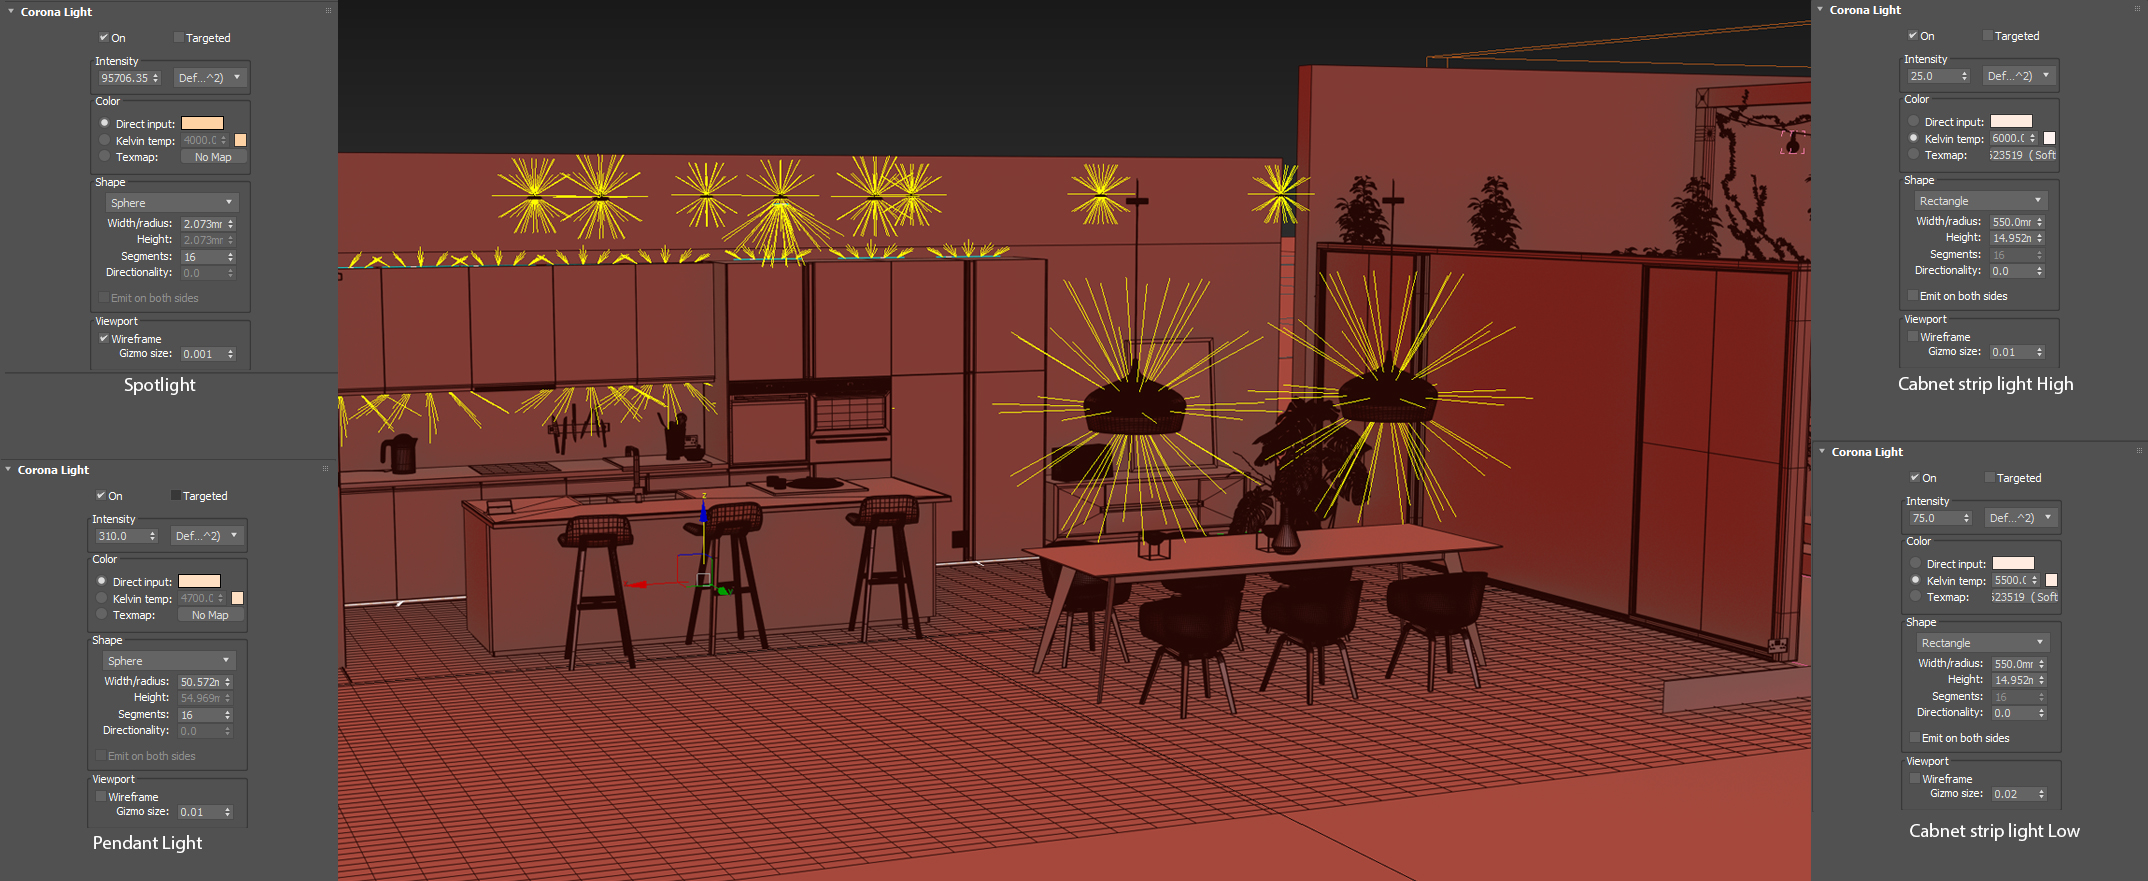
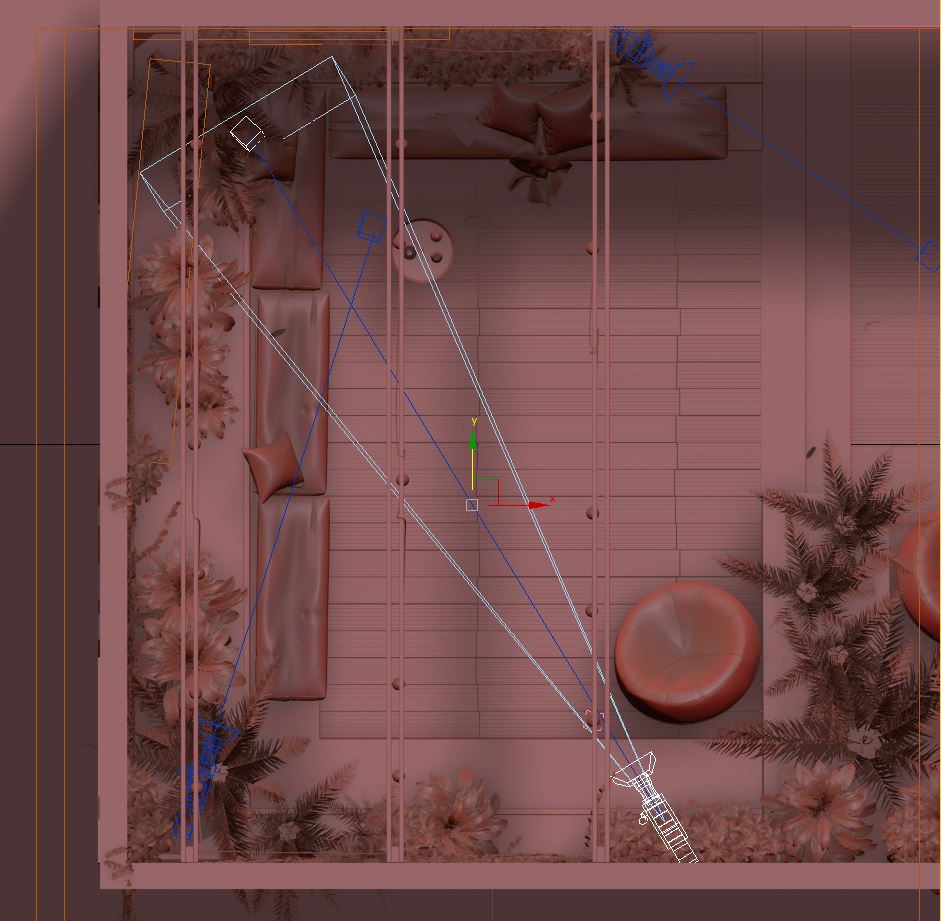
For the interior lighting, I didn’t use any IES lights simply because I didn’t think it added anything to the look I was going for. The lighting set up I used is shown below:
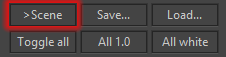
In Corona 1.6 and above, there’s a function in the LightMix that allows you to change all your lights in the scene after the render using LightMix, and then bake those settings back into the actual scene lights once you’ve made those adjustments – just use the the >Scene button.
The reason you use this is because for more extreme changes, particularly increasing the brightness of a light source, the more chance there is that it will create banding, noise, inaccurate reflections etc. If you bake the settings back into the scene once you’re happy with them and re-render, it will give you a much better, more accurate and crisp render.
As you can see in the screen grab above, some of the lights have an extremely high intensity (I didn’t actually notice this until I started writing this breakdown and taking screenshots!), which is a result of transferring the LightMix settings back into the light settings.
For example, my sphere lights were very small and I had to increase their intensity a lot in the LightMix until I was happy with the look, and then baked the values back into my lights and continued without ever needing to look at the light settings directly again – hence the very high values.
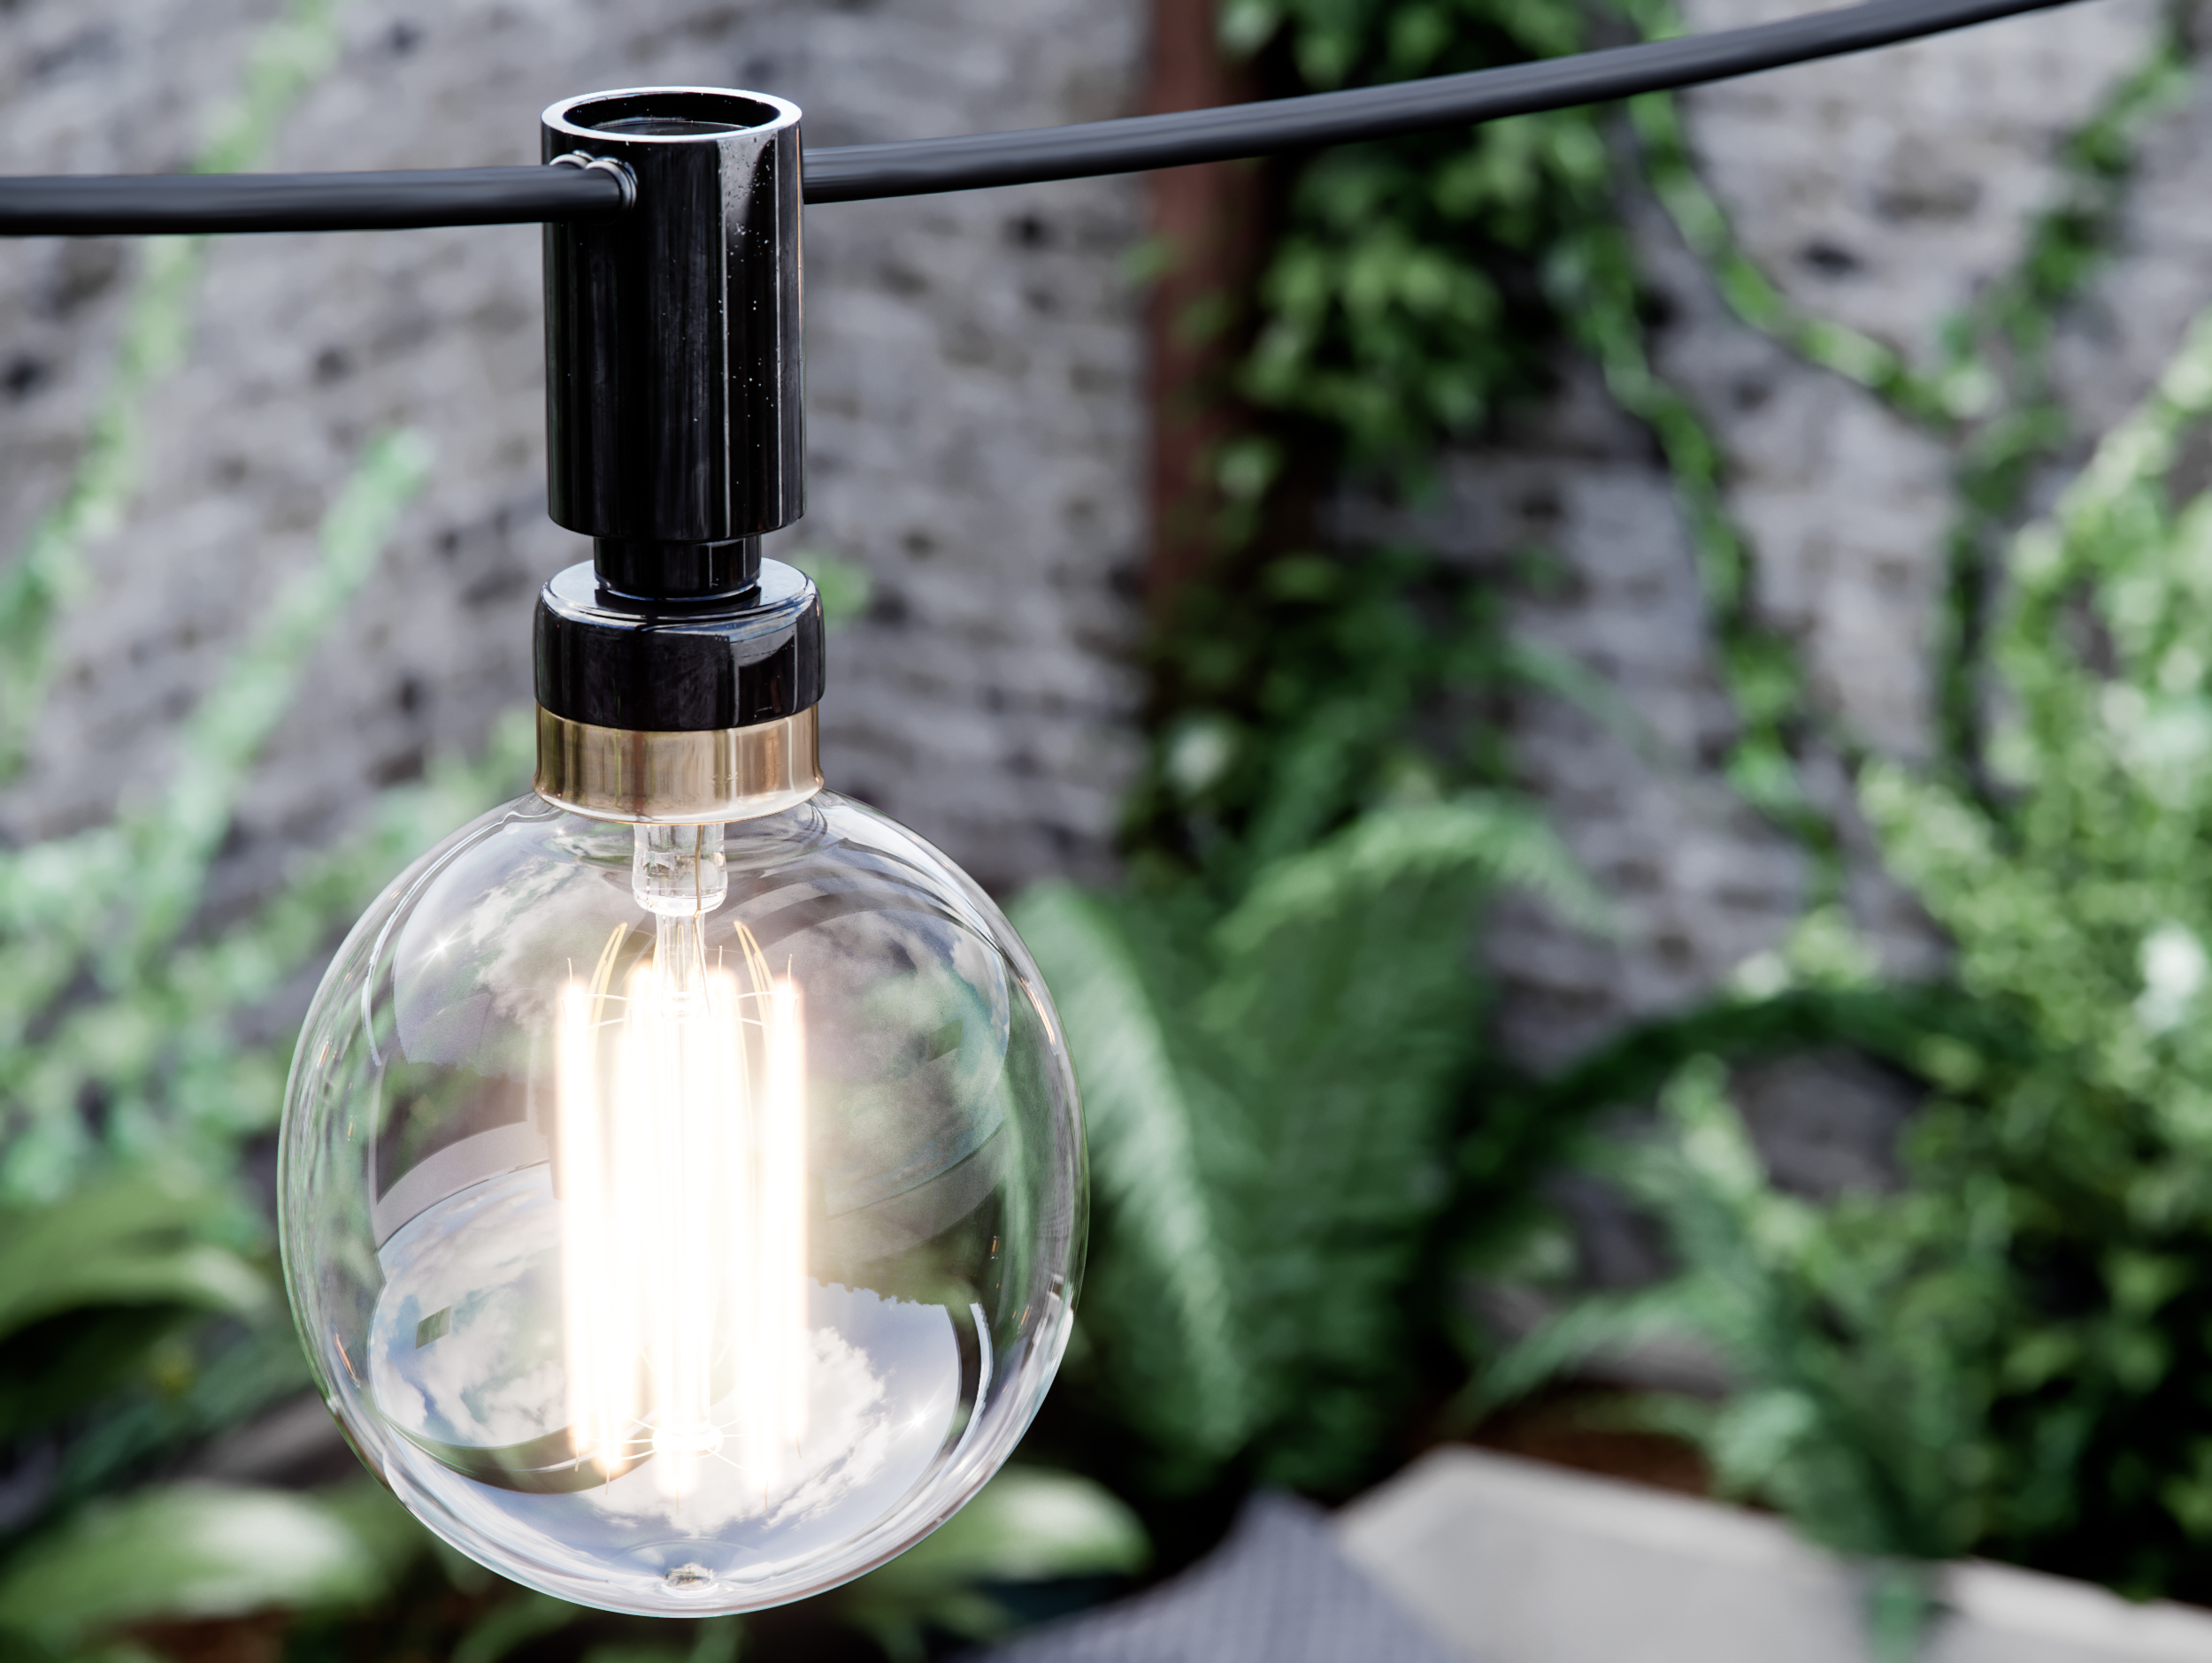
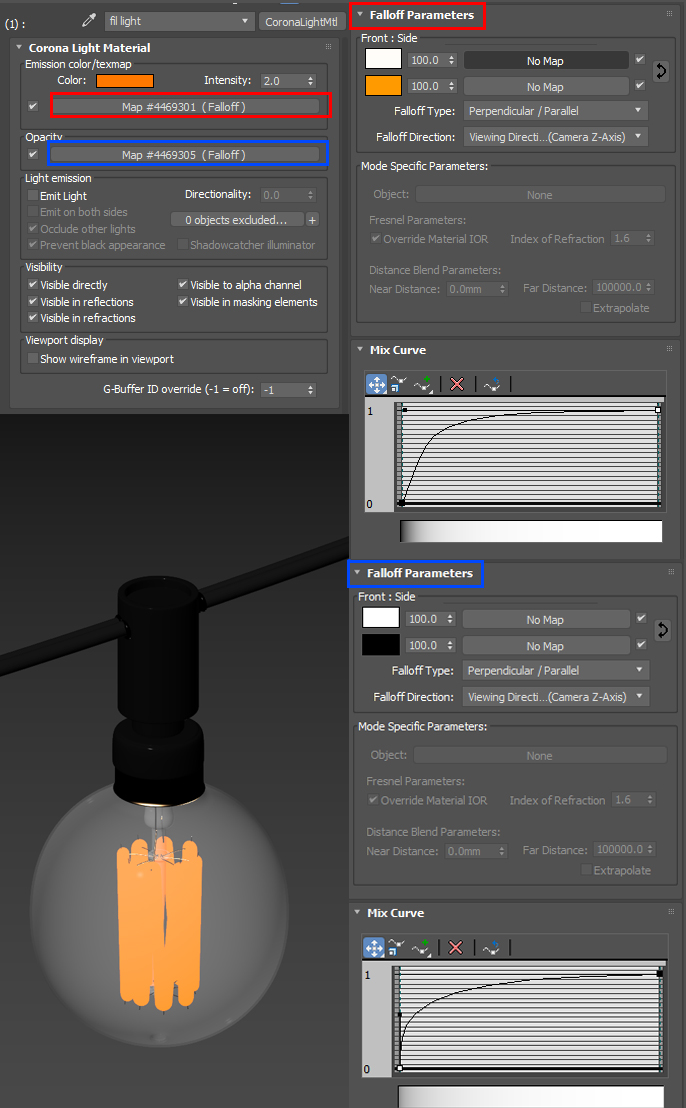
Finally, for the outdoor light bulbs and for the oven lights, I applied a Corona Light Material to the filament geometry with a basic falloff going from white to orange, giving the light a softer glow.
Below is a light breakdown of the various LightSelect elements for one of the images, so that you can see what each light is doing:

Materials
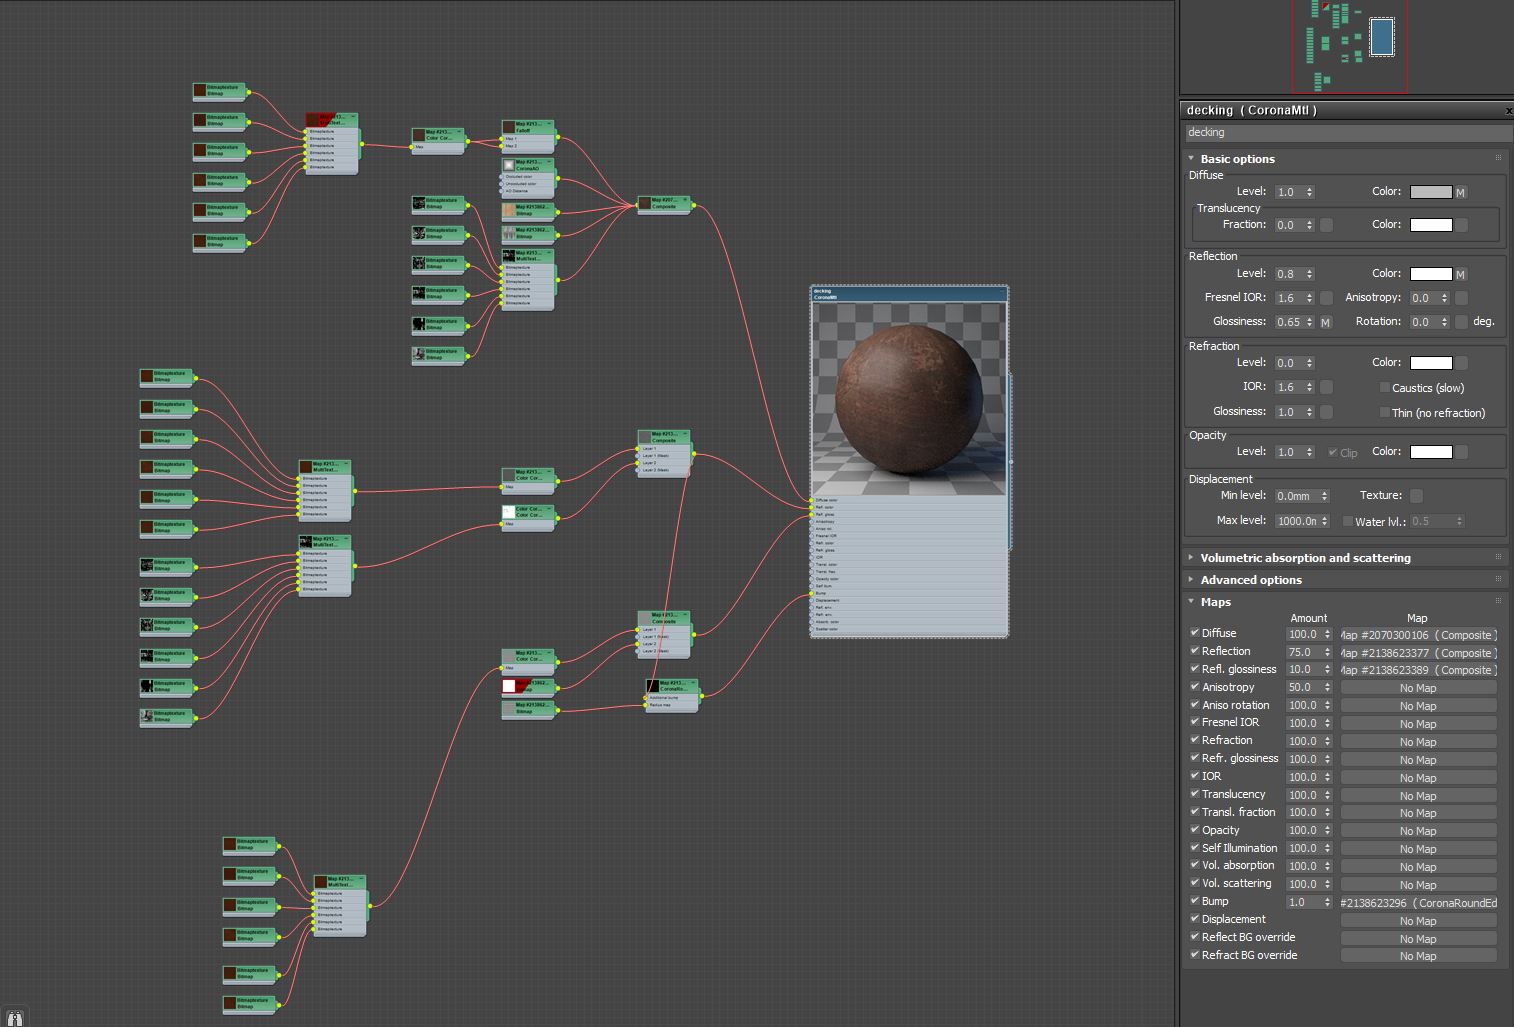
I won’t go into much detail about the materials for this project as they are quite basic, but I thought I would include a screenshot of the wood decking from the exterior shots.
I used the Multitexture plug-in by CG Source which, if you have not used it before, I would highly recommend, as it allows you to randomise textures on elements of an object.
(Editor’s note: a Corona MultiMap can be used to achieve a similar effect, and in Corona Renderer 1.7 and above, the UvwRandomizer can also randomize the way textures are mapped onto different instances).
The output from that was then fed into a composite with more dirt layers added on top, plus monochrome versions created for reflections and bump. I also tend to add a CoronaAO map with a 20% multiply to most of my materials’ diffuse colour to help bring out small details of a model.
Depth Of Field
I love depth of field with Corona Renderer, it is very intuitive and being able to view it in the Interactive Renderer with very low refresh times is a real time-saver when trying to work out the strength of the effect that you want.
There are a few ways to set it up but I just wanted explain how I’m currently doing it.
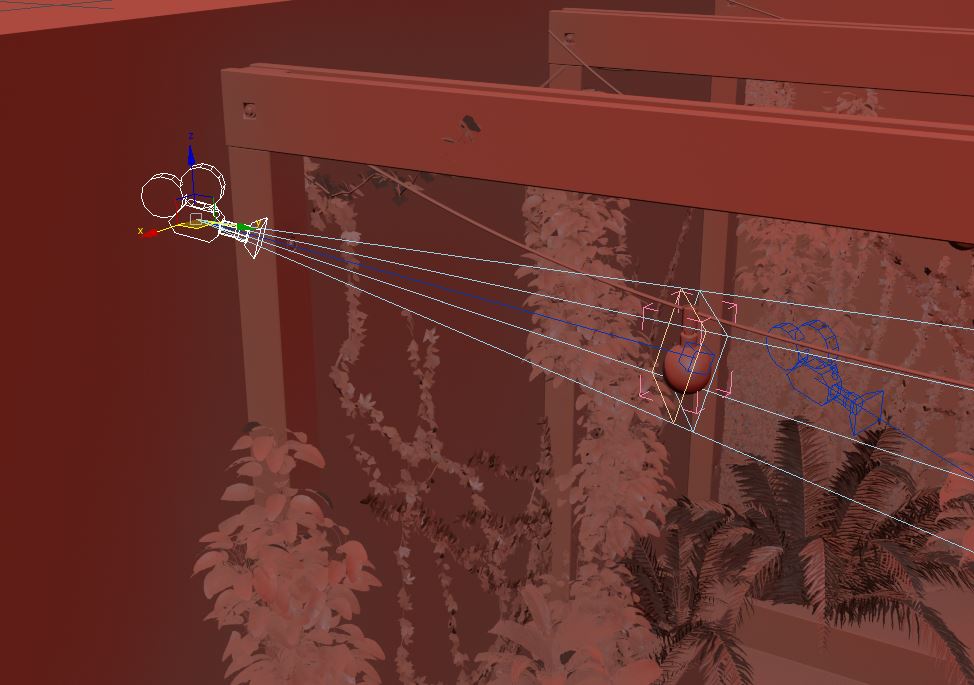
To start off, I set up my camera and by default the focal point is at the camera target. As long as the target is in the correct place when I set it up my shots, this usually works fine and would just need a little bit of adjusting.
Below are some examples of different positions of the target:
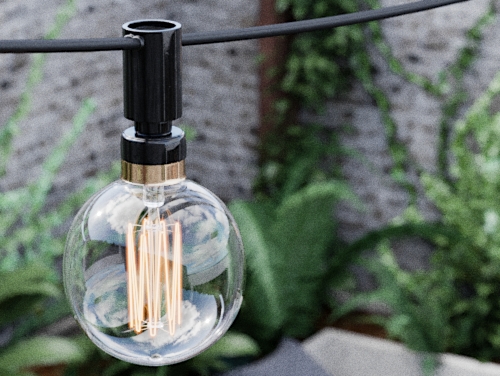
Camera target near the light bulb in foreground, planting in background out of focus.
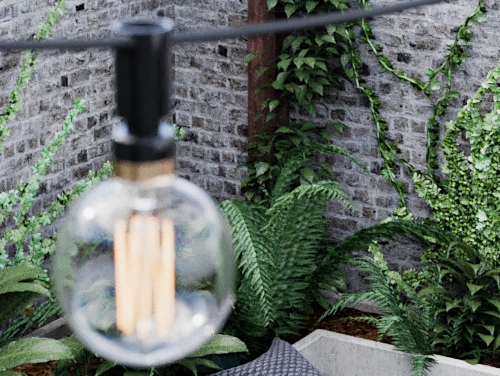
Camera target near the planting, light bulb in foreground out of focus.
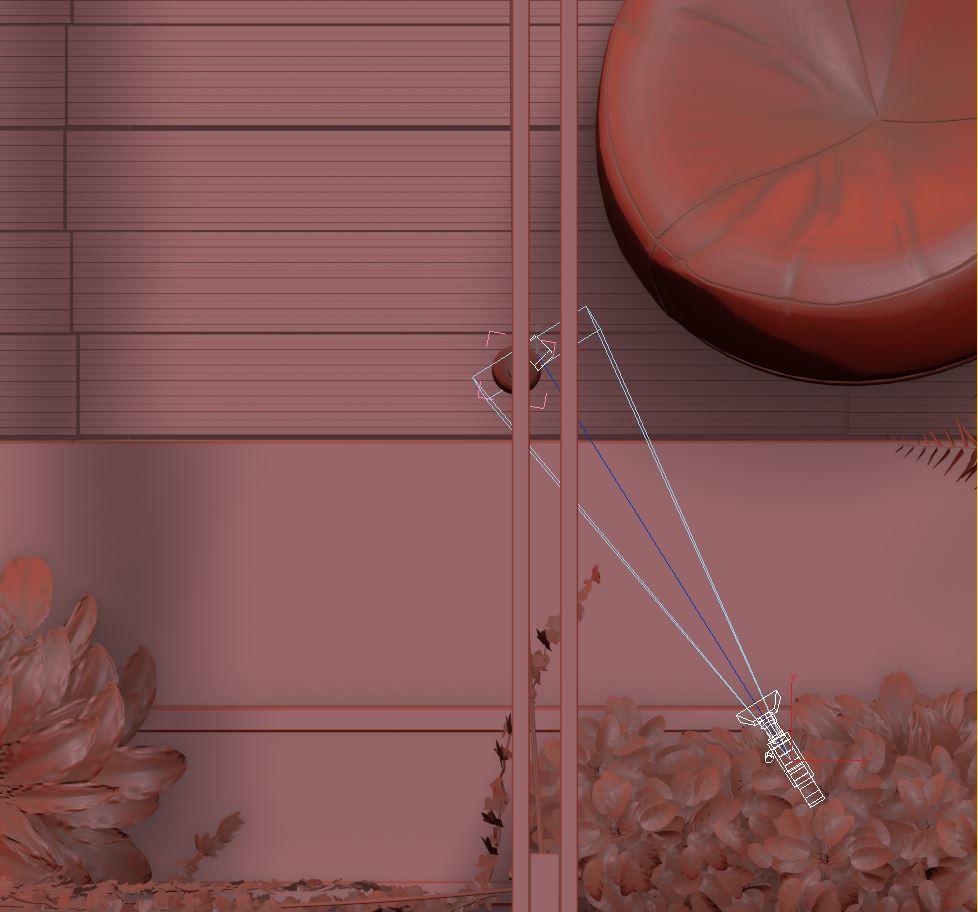
You can also enter the distance manually to add DOF at a later stage if you have already locked down your camera angle but didn’t set up the target. An easy way to work it out is to use either the environment or the clipping range in the camera settings: enable either setting and move the planes that appear until they are on the object you want to be in focus:
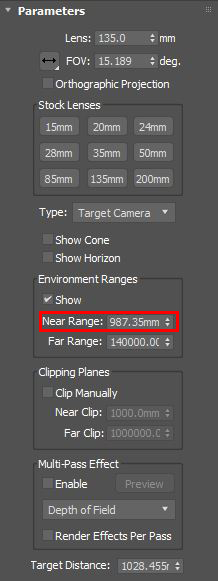
Then copy and paste the value into the corona DOF override:
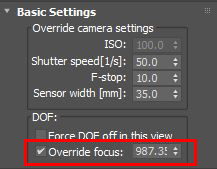
(Editor’s Note – in Corona Renderer 1.7 and above, if you use a Corona Camera then you can use any object in the scene to set the focus distance, independent of the Corona Camera’s target)
Now that we have specified the focus we need to work out the intensity of the blur. You can achieve this by changing the F-stop setting in the Corona Camera (or Corona Camera Mod, prior to version 1.7). Higher values in the F-stop parameter will give sharper results, and lower values more blurred results:
Finally we need to determine the shape of the bokeh. If you go to the Camera tab in the Render Setup dialog, you can adjust the number of blades (you can also adjust this in a CoronaCamera, allowing each camera to have different settings if you like). This is basically recreating the mechanical shutter found in camera lenses. Generally, the better the lens, the more blades you get, which results in a more circular Bokeh, while cheaper lenses tend to have more angular bokeh patterns.

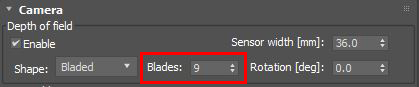
The examples below show how a higher number changes the effect. You can also change it to a circular or custom map in the drop down menu. Just play around a little with this until you have your desired look.
Extra Tip!!
Glass:
I did a few test renders of a scene and for 600 passes at 2500 pixels they were taking about 20 hours. I was using a i7 4930k Processor, but with depth of field and lots of displacement these kind of render times were not a surprise to me.
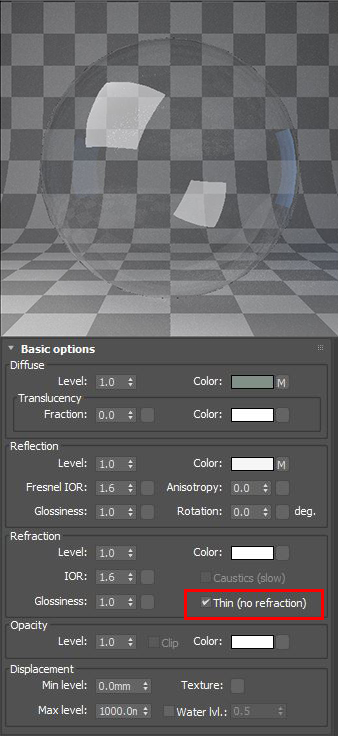
I then started to render one camera that was looking through the back sliding doors into the garden area. I left it rendering while I was away for 2 days but when I came back to it, Corona estimated another 255 hours remaining….not good! I spent ages trying to work out why it was taking so long until I realised that solution was simple – a little box in my glass material that I had forgotten to tick, the “Thin (no refraction)” option!
I thought I would bring this up in case it helps anyone else that is currently banging their head against a wall. Even though I have been using 3ds Max for many years, there’s still times that I forget about the simple things….normally a little tick box just like this one…
Post production
Corona Renderer has great post production tools, with a big collection of LUTs built in. For these images, I used the Kim_Amland_Photographic_01 LUT.
It’s also nice to not have to worry about shutter speed and ISO in the camera settings to adjust the exposure, although the Corona Camera (and Corona Camera Mod) does have these options if you want to use them. I found that leaving them on the default settings and using the Simple Exposure setting in the post-processing tab to adjust it worked really well. Below are the tone mapping settings I used:
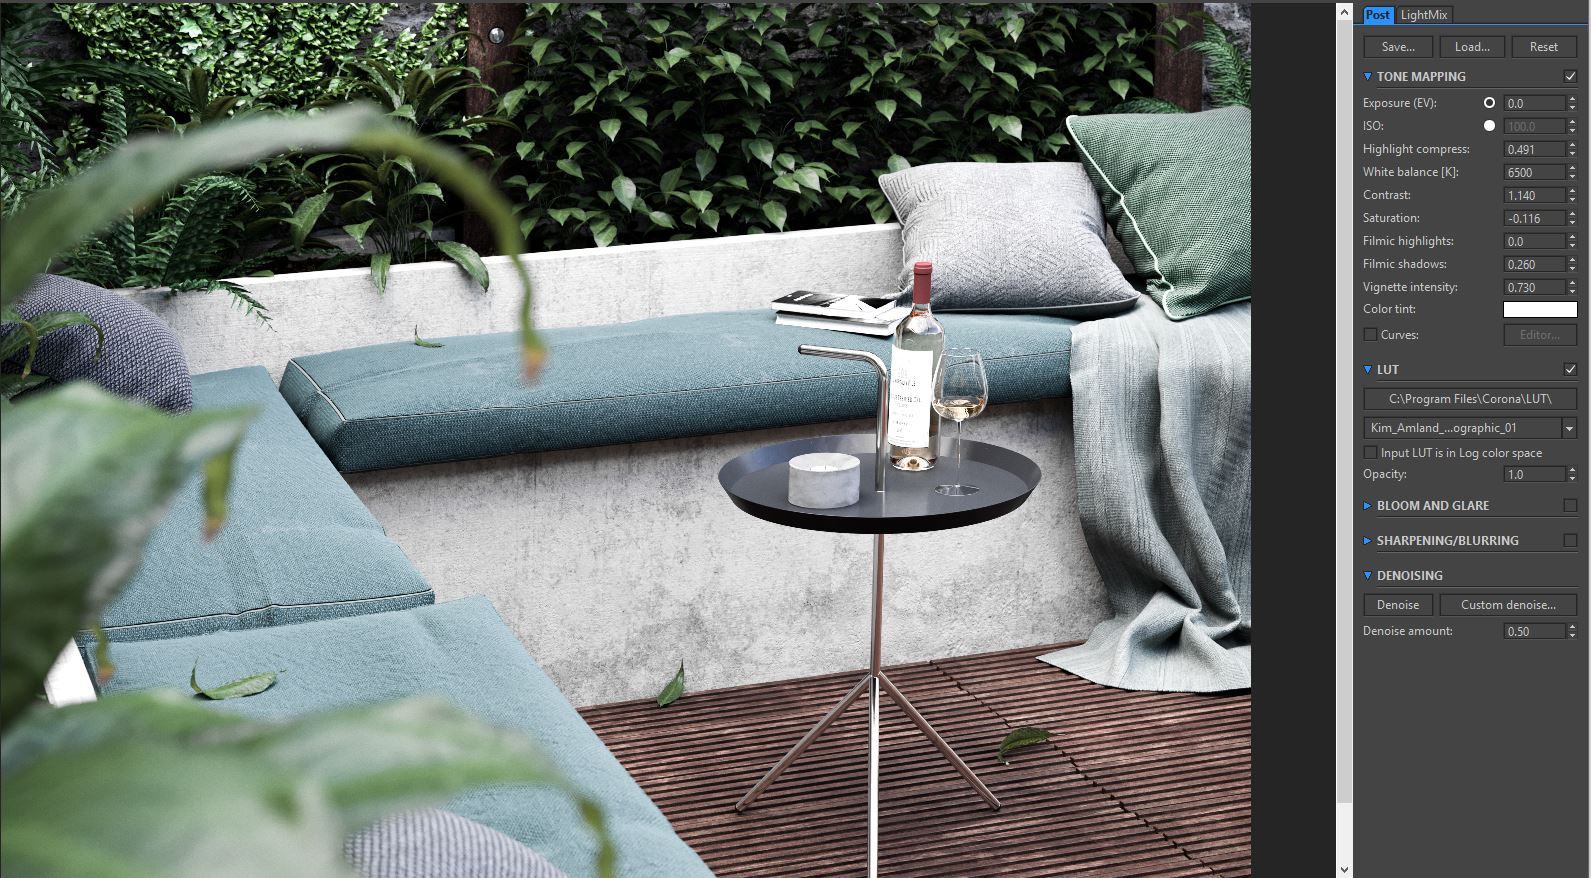
I found I could get the images to a standard I was happy with by just using the built-in tone mapping tools. I did use Photoshop to increase some reflections and translucency, but in the end these were very minimal changes and didn’t add a huge deal to the images.
Below is a render from the Corona frame buffer and then the final Photoshopped version:

You can find more of the renders from this project at the links below. Thanks for reading, and I hope you find something useful here for your own projects!
James Dowling
Website: https://www.atmosvisuals.com/
Behance: https://www.behance.net/Jamesdowling
Instagram: https://www.instagram.com/jamesadowling/